In today’s digital age, the way your website looks and operates can make or break the first impression of potential customers and clients. One of the key elements of a website is its photo gallery. A photo gallery can showcase products, and services, or just give visitors a taste of the company’s personality and brand. A good photo gallery can make all the difference in attracting and retaining visitors to your site.
However, creating an engaging photo gallery that accurately represents your brand and keeps visitors engaged can be a challenge. Fortunately, with WordPress, there are numerous methods to create a professional photo gallery that is both attractive and functional.
Whether you’re a beginner or an experienced WordPress user, this blog will guide you through four methods to create an engaging photo gallery on your website. Whether you prefer a traditional grid layout, a mosaic-style display, or a more dynamic and interactive gallery, there’s a method for you.
One of the key benefits of using WordPress to create your photo gallery is the ability to customize it to match the look and feel of your brand. With WordPress, you can choose from a variety of top WordPress themes, plugins, and customization options to create a unique and professional-looking gallery.
In this blog, we will be covering four methods to create an engaging WordPress photo gallery: using the default gallery function, using a plugin, using custom code, and Using page builders. Each method has its own set of benefits and drawbacks, and we’ll be diving into each of them in detail to help you make an informed decision about which method is best for you.
So, whether you’re looking to showcase your products, or services, or just want to add a touch of personality to your website, this blog will help you create an engaging WordPress photo gallery that will keep your visitors engaged and coming back for more.
What Is WordPress Photo Gallery?
A WordPress photo gallery on a website refers to a collection of images that are displayed on a web page in an organized manner. The purpose of a photo gallery is to showcase a series of pictures in an attractive and visually appealing manner, allowing users to easily browse through and view the images. A photo gallery can be integrated into a website using various programming languages and tools, such as HTML, CSS, JavaScript, and various content management systems like WordPress. The appearance and functionality of a photo gallery can be customized to meet the specific needs of a website and its users, and it can include features such as captions, tags, categories, and navigation options.
Benefits Of Having A WordPress Photo Gallery
Having a WordPress photo gallery on your website can provide several benefits, including:
- Improved User Experience: A photo gallery helps to create a visually appealing website and improve the user experience by breaking up large blocks of text and providing a visual representation of your products, services, or events. This can help to keep visitors engaged and, on your site, longer.
- Increased Engagement: Photo galleries can be interactive, allowing visitors to view images in different ways such as a slideshow, grid, or mosaic format. This can increase engagement and encourage visitors to spend more time on your site.
- Showcasing Products and Services: A photo gallery provides an opportunity to showcase your products or services in a way that is easy for visitors to understand. This can help to build trust and credibility with potential customers.
- Improved Search Engine Optimization (SEO): By including relevant keywords in the captions or tags of the images in your photo gallery, you can improve your website’s SEO and increase its visibility in search engine results.
- Increased Social Sharing: If your photo gallery is set up to allow for easy sharing on social media, it can help to increase your website’s visibility and drive traffic to your site. This can be particularly beneficial for businesses that rely on social media for marketing and promotion.
- Better Presentation of Events: If you’re hosting events, a photo gallery can be a great way to showcase the highlights and create buzz around your events. This can help to attract more attendees and generate more interest in future events.
- Increased User Interaction: By allowing visitors to leave comments or feedback on the images in your photo gallery, you can increase user interaction and encourage them to become more engaged with your site.
Overall, a photo gallery can add a dynamic and engaging element to your website and help to improve the user experience, increase engagement, and drive traffic to your site.
How To Create An Engaging WordPress Photo Gallery
Creating a photo gallery on a WordPress website is a great way to showcase your images and tell a visual story. There are several methods to create a WordPress photo gallery, including using built-in WordPress gallery functionality, using a plugin, custom coding, and Using page builders. Each method offers different options and features to make your gallery stand out. So, let’s check out each method in detail.
Using The Built-in WordPress Gallery
Creating a WordPress photo gallery in WordPress using the built-in gallery feature is a simple and efficient way to showcase your photos and images. The built-in gallery is a great way to create a professional-looking photo gallery without the need for any additional plugins.
Here is a step-by-step guide to creating a photo gallery in WordPress using the built-in gallery feature:
- Go to your WordPress dashboard and select the page or post where you would like to add the photo gallery.

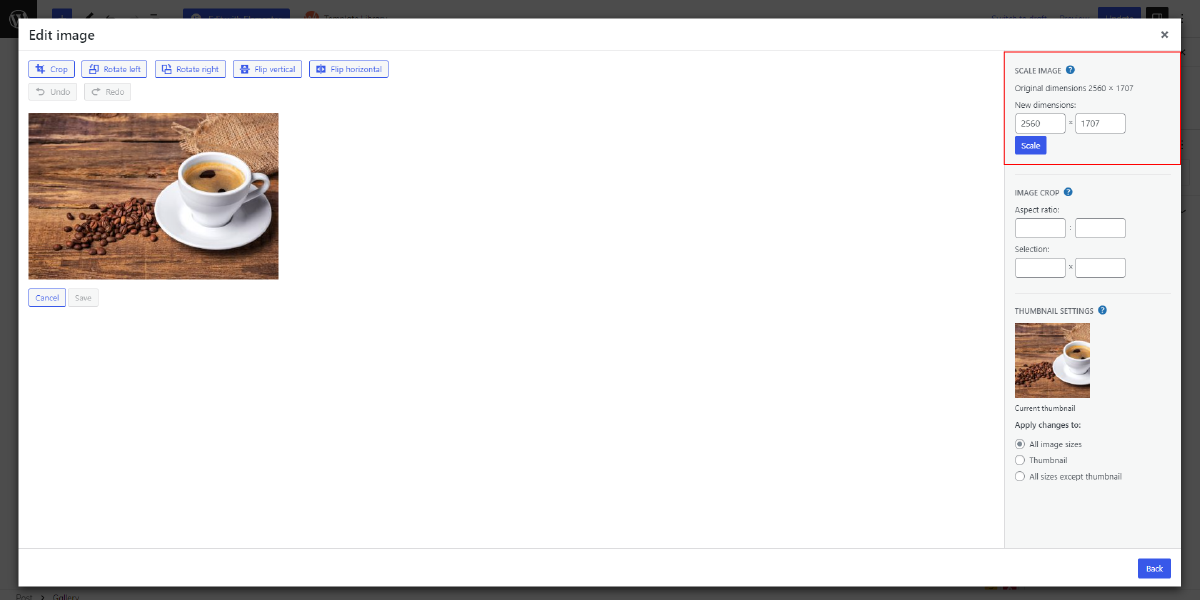
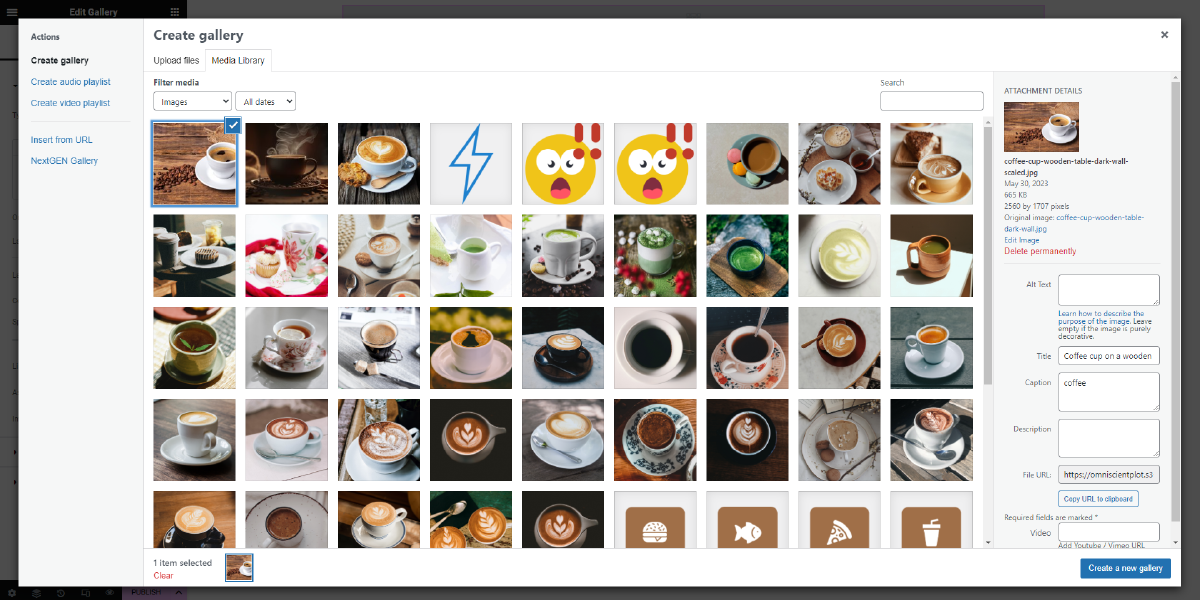
- Click on the “Add Media” button above the text editor to upload the photos you want to include in your gallery.

- Once you have uploaded the photos, select the photos you want to include in your gallery by clicking on them.
- With the photos selected, click on the “Create Gallery” button in the top left corner of the screen.

- In the Gallery Settings section, you can select the type of gallery you want to create. You can choose between a grid gallery, a mosaic gallery, or a slider gallery.
- You can also customize the gallery by adjusting the number of columns, the size of the images, and the order of the images.

- You can add captions to your images by typing in the captions in the text box under each image.

- You can also choose to link the images to the full-size image, the attachment page, or a custom URL.
- Once you have customized your gallery, click the “Insert Gallery” button to add the gallery to your page or post.

- Preview your page or post to make sure the gallery looks the way you want it to. If you need to make any adjustments, simply go back to the “Add Media” section and make the changes.

That’s it! Your photo gallery is now created and ready to be viewed by your audience. The built-in WordPress gallery feature is a great way to showcase your photos professionally and efficiently. With its customizable options, you can create a photo gallery that fits your style and brand.
Overall, creating a photo gallery in WordPress using the built-in gallery feature is a simple and efficient way to showcase your photos and images. With its customizable options, you can create a WordPress photo gallery that fits your style and brand, without the need for any additional plugins.
Using A plugin
One of the easiest and most popular methods of creating a photo gallery in WordPress is through the use of a plugin. The use of plugins is a great way to add functionalities to your WordPress site without having to write any code. WordPress has a wide range of plugins available, and many of them are specifically designed to create photo galleries. Some of the most popular photo gallery plugins include NextGEN Gallery, Envira Gallery, and Soliloquy.
To create a WordPress photo gallery using a plugin, you need to follow these steps:
- Install a photo gallery plugin: You can install a photo gallery plugin from the WordPress plugin repository by going to the ‘Plugins’ section in the WordPress dashboard and searching for the plugin you want to use.

- Create a new gallery: Once the plugin is installed, you can create a new gallery by going to the plugin’s settings page and clicking on ‘Add New Gallery.’ You will then be able to upload images to the gallery.

- Customize the gallery settings: Most photo gallery plugins offer a range of customization options, including the size of the images, the number of images per row, and the style of the gallery.
- Embed the gallery in a post or page: To embed the gallery in a post or page, you need to use a shortcode provided by the plugin. You can find the shortcode by going to the plugin’s settings page and clicking on the gallery you want to embed.
- Preview and publish: Preview the gallery by visiting the post or page where you have embedded it. If everything looks good, publish the post or page.
Using a plugin to create a photo gallery has several advantages. Firstly, it is easy to use and requires no coding knowledge. Secondly, plugins offer a range of customization options, allowing you to create a photo gallery that fits with your website’s design. Thirdly, plugins are regularly updated, ensuring that your photo gallery remains functional and secure.
Overall, creating a photo gallery in WordPress using a plugin is an excellent way to showcase your images, art, or products to your audience. With the wide range of plugins available, you can easily find one that fits your needs, and with its easy-to-use interface, you can create a professional-looking photo gallery without having to write any code.
Using Custom Code
Creating a WordPress photo gallery using custom code is a great way to have full control over the design and functionality of your gallery. This method can be used when you want to add a gallery to a custom page template or widget. The advantage of using custom code is that you can customize the look and feel of the gallery to match your website’s design and brand.
To create a custom photo gallery in WordPress, you will need to write some code. You can use HTML, CSS, and PHP to build your gallery. To get started, you will need to create a new WordPress page or post and switch to the text editor. After that, paste the subsequent code into the editor:
<div id=”gallery”>
<?php
$args = array(
‘post_type’ => ‘attachment’,
‘post_mime_type’ => ‘image’,
‘post_status’ => ‘inherit’,
‘posts_per_page’ => -1,
);
$images = get_posts($args);
if($images):
foreach($images as $image):
$img_url = wp_get_attachment_url($image->ID);
?>
<a href=”<?php echo $img_url; ?>” rel=”lightbox”>
<img src=”<?php echo $img_url; ?>” alt=”<?php echo $image->post_title; ?>”>
</a>
<?php endforeach; ?>
<?php endif; ?>
</div>
This code creates a gallery that will display all images uploaded to your WordPress media library. You can use the get_posts() function to retrieve all images and display them in a loop.
Next, you can add some CSS to style your gallery. You can add the following code to your theme’s style.css file:
#gallery a {
display: block;
float: left;
margin: 10px;
}
#gallery img {
width: 200px;
height: 200px;
}
This code sets the display property to block, which makes each image in the gallery take up a full line. The float property is set to left, which means that the images will float next to each other horizontally. Finally, the margin property adds some space between the images.
Finally, you can use a plugin like Lightbox to display the images in lightbox when they are clicked. To use Lightbox, simply add the following code to your WordPress theme’s functions.php file:
function my_lightbox_scripts() {
wp_enqueue_script(‘lightbox’, get_template_directory_uri().’/lightbox/lightbox.js’, array(‘jquery’), ‘2.10.0’, true);
wp_enqueue_style(‘lightbox’, get_template_directory_uri().’/lightbox/lightbox.css’, array(), ‘2.10.0’);
}
add_action(‘wp_enqueue_scripts’, ‘my_lightbox_scripts’);
This code uses the wp_enqueue_script() and wp_enqueue_style() functions to add the Lightbox JavaScript and CSS files to your WordPress website.
Overall, using custom code to create a WordPress photo gallery is a great way to have full control over the design and functionality of your gallery. This method is especially useful when you want to add a gallery.
Using Page Builders
A WordPress photo gallery can also be created using page builders, which are drag-and-drop tools that allow you to easily create and customize pages on your WordPress site. There are several page builders available for WordPress, including Elementor, Beaver Builder, and Divi.
The use of WordPress page builders for creating a photo gallery on WordPress is a popular method because it provides a user-friendly interface for building and customizing pages. Page builders are equipped with a visual editor, which makes it easy to create a photo gallery without having to know any coding or technical skills. You can simply select the type of photo gallery you want to create and then drag and drop your images into the designated area.
When using a page builder to create a photo gallery, you can choose from several different gallery styles such as a grid, masonry, or slideshow gallery. You can also add captions to your images, as well as adjust the size and layout of the gallery to fit your website design. Page builders also come with a variety of customization options, so you can create a photo gallery that truly reflects your brand and style.
Elementor is one of the most popular options for creating a WordPress photo gallery. It’s a powerful drag-and-drop page builder that allows you to create custom pages and posts with ease. Here’s how to create a photo gallery using Elementor in WordPress:
- Install Elementor: If you haven’t already, install the Elementor plugin from the WordPress repository. Once installed, activate the plugin and you will find an Elementor option in your WordPress dashboard.

- Establish a new page: Go to Pages and click on Add New in your WordPress dashboard. Give your page a title and then click the “Edit with Elementor” button to launch Elementor’s page builder interface.

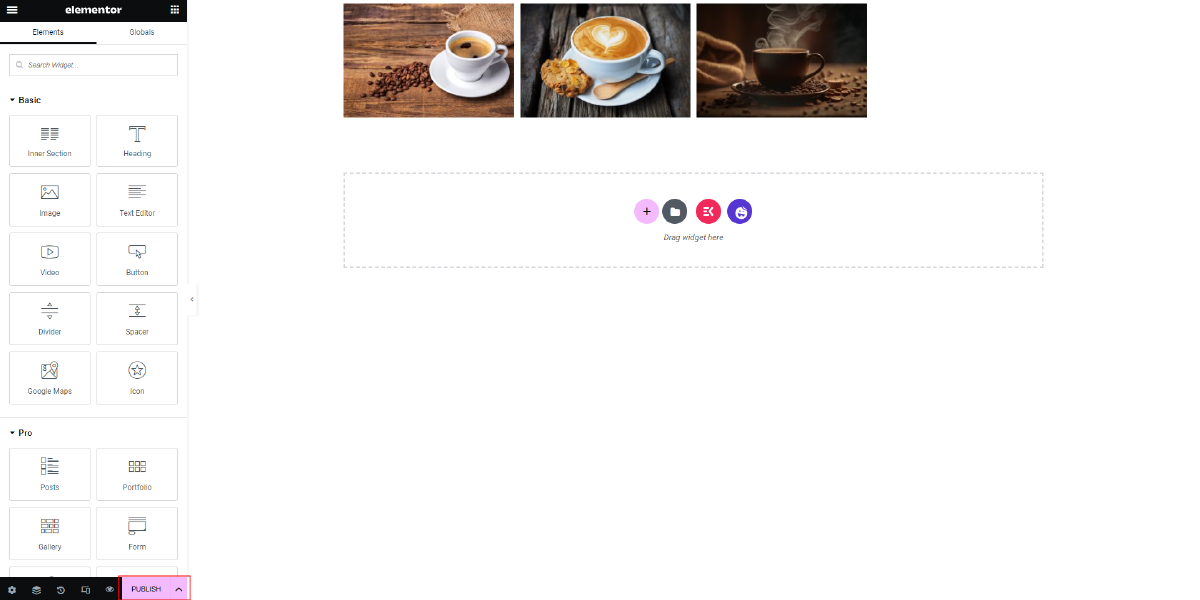
- Add a gallery widget: In Elementor, you can add various widgets to your page including a photo gallery widget. To add a gallery widget, simply click on the “Add Widget” button and search for “Gallery”. Then, drag and drop the gallery widget onto your page.

- Upload photos: You can upload photos to your gallery by clicking on the “Add Images” button in the gallery widget. You can select photos from your media library or upload new photos from your computer.

- Customize the gallery: You can customize the appearance of your photo gallery by changing its columns, image size, and spacing. You can also add captions, lightbox effects, and links to your images.

- Save and publish: Once you’ve finished customizing your photo gallery, save your changes and publish your page. Your photo gallery will now be live and visible to your visitors.

Elementor’s drag-and-drop interface makes it easy to create a photo gallery without any coding skills. Additionally, Elementor provides a wide range of customization options to help you create a photo gallery that matches the style and aesthetic of your website. With Elementor, you can create beautiful, professional-looking photo galleries in no time.
Conclusion
In conclusion, creating an engaging photo gallery for a professional website on WordPress can be done in a variety of ways, including using the built-in WordPress gallery, installing a plugin, writing custom code, or using a page builder. The key to a successful photo gallery is to choose a method that fits the needs of your website, both in terms of functionality and design. Whether you prefer the simplicity of using the built-in WordPress gallery or the customization options provided by a page builder, the most important thing is to take the time to create a gallery that effectively showcases your photos and makes a lasting impression on your visitors. By following the tips and techniques outlined in this blog, you’ll be well on your way to creating an engaging and professional photo gallery, enhanced by the inclusion of WordPress Elementor themes, that elevates your website to the next level.

